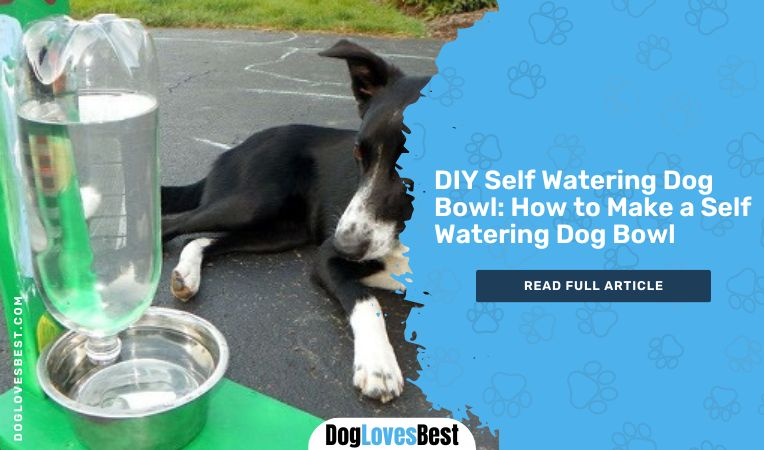
Worried about your pooch being thirsty? I am going to share with you a DIY Self Watering dog bowl idea that I am sure you will love, without a doubt!
Dogs need a lot of water throughout the day. This is why you find yourself frequently running to refill your dog’s water bowl.

But, no more!
Here is a very simple DIY self-watering dog bowl idea. And once you know about this idea, you will never have to keep running to make sure that your dog’s water bowl is not empty.
Without further-a-do, let’s begin the DIY self-watering dog bowl guide!
How to Make a DIY Self Watering Dog Bowl
You want to go out somewhere for a whole day, but you cannot go because no one can supply freshwater once your dog’s water bowl is empty.
With this DIY self-watering dog bowl idea, your problem is solved. Now, you can go anywhere without worrying about your dog.
Let’s begin the guide!
Step 1: Materials You Will Need
Here is a list of materials that you will need to make this DIY self-watering dog bowl!
- An hour glass shaped cold drink bottle of 2 liters
- A thick plywood for the base
- Screws (4 Nos.)
- 4 inches of Coupler
- A plywood of the size 2×4 for the stand
- Paint (Optional)
Based on the size of your dog, you may change the size of the plywood used for the base and stand. If you own a small pooch, you may even use a smaller bottle. For those who don’t know where to buy a coupler from, it is easily available in any hardware store.
Let’s move on to the DIY process once you are all set with the required materials.
Step 2: Marking for the Base
The first step is to take the coupler and make the edges of the 4-inch plywood that we will use for base paw-friendly. The edges of the plywood are very sharp when you purchase it. Those edges can badly hurt your dog’s paws.
So, with a pencil, trace a semi-round shape on all four sides of the plywood using the coupler.
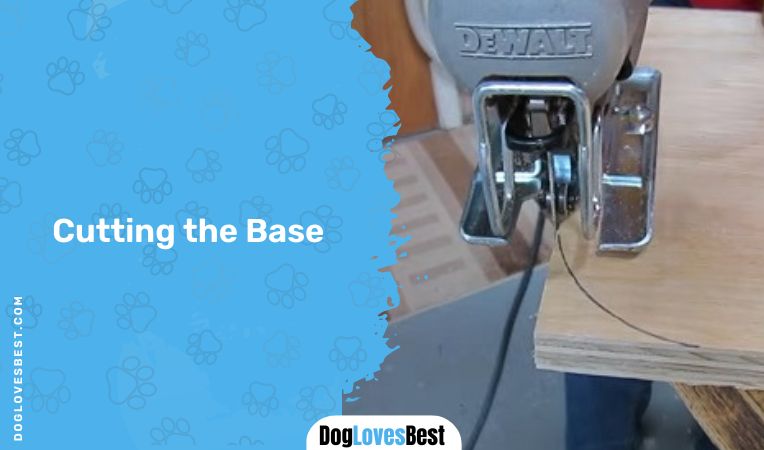
Step 3: Cutting the Base
The next step is to cut the edges of the base that we marked using the coupler. You can use a jigsaw to trim the edges of the plywood. If you do not have a jigsaw or don’t know how to use it, you can even go for a good sanding.

If you are using a jigsaw, make sure to be careful and do it when your dog is not around. You do not want to hurt yourself or your dog in the process.
Step 4: Finishing Touches to the Base
By finishing touches, I mean sanding and smoothing the base.
However, this step is optional. But I preferred doing this step because it would give a nice store-finish pro look to your dog’s water bowl.
You can use a router with a rounding bit to shape and smoothen the edges of the 2×4 plywood. Again, be careful.
Step 5: Add the Base
Now, you have to attach both the pieces using the screws that you bought.
First, mark the area where you would want to attach the stand to the base. I suggest you perfectly align the base and the stand, so it can easily be balanced when you lift it.
Drill two holes on both the plywood and then assemble it using the screws.
Step 6: Marking and Cutting the Coupler
The next step is to make a holder for the 2-liter bottle using the coupler. Make 2 marks on the coupler of about 1-inch distance and trim it with the help of a hacksaw.
You may also smooth out the edges of the coupler using sandpaper. It will make sure that you do not hurt yourself while keeping or removing the bottle.
Step 7: Drilling and Attaching the Coupler
After you have completed the 6th step, you have to now attach the coupler to the plywood. For that, you will have to drill two holes in the coupler and the stand.
After you have drilled the holes, attach them using the screws.
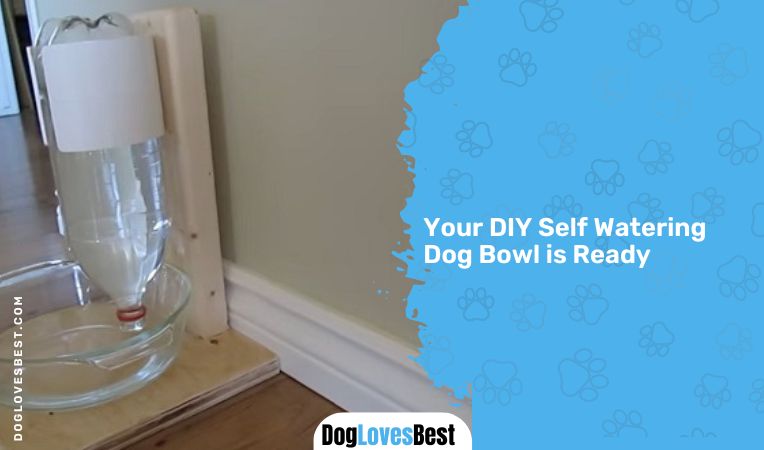
Step 8: Your DIY Self Watering Dog Bowl is Ready
We are all set for the last step. Once you have attached the coupler with the plywood, our DIY self-watering dog bowl is ready. Now, you just have to fill the 2-liter bottle with clean and cold water and slide it along the coupler in an upside-down position. Place your dog bowl on the base.

Now, you need to decide the level of water you want in the dog bowl. It can be high or low as per your wish. The level of the water in the DIY self-watering dog bowl will be decided by the position of the cap/opening of the water bottle that you placed in the coupler.
You can even spray paint the plywood and coupler to make it look more attractive.
And that’s it! Your DIY Self watering Dog Bowl is all ready for use!
FAQs
DIY self-watering dog bowl seems like magic, but it is not.
It is plain Physics!
When you submerge the water bottle in your dog bowl, the water will stop flowing out automatically. Now every time your little pooch feels thirsty and drinks water from his dog bowl. The cap of the bottle is no longer submerged in the dog bowl.
As soon as the bottle is not submerged, more water will start flowing out automatically until it is submerged again.
Maybe or May not!
There isn’t any evidence that a dog will drink more water from a DIY self-watering dog bowl. However, you can relax that your dog won’t remain thirsty.
Also, dogs love freshwater, so they will happily drink water from their dog bowl every time water flows out from the bottle. It will also keep their water fresh and clean.
The only thing you need to keep in mind is that you must change the bottle every month.
It is only training your dog that will help your dog drink slowly without making a lot of mess.
However, if you use this DIY self-watering dog bowl strategically, it can help you to let your dog drink without making a mess. Let me tell you how!
You can place the water bottle at a lower level in the dog bowl. When you do so, there will be less water in the dog bowl. So, your dog won’t be able to splash a lot of water.
Also, you do not even have to worry about your dog being thirsty because as soon as the dog drinks some water, the bottle will start flowing out more water.
Final Verdict
Isn’t this DIY self-watering Dog Bowl idea amazing?
You will need patience and some time to make this dog bowl, but once it is ready, you will be so relieved that you will not have to refill your dog’s water bowl frequently.
However, it is very important that you clean the bottle that you placed in the coupler. As it is made of plastic, it will easily build up bacteria inside. So, clean it with soap water. Try to replace the bottle every month.
Also, during summers try to fill the bottle with extremely chilled water, because the water will easily get warm and your dog won’t enjoy drinking such water.
I hope you will enjoy making this DIY self-watering dog bowl just the way you enjoyed reading this guide!
References:
- DIY ● Self Filling Water Bowl for Your DOG / CAT ( that works ! ). (2016, April 12). YouTube. Retrieved August 25, 2022, from https://www.youtube.com/watch?v=GG8saybSsF8

Ellis is a retired veterinary technician and full-time contributor at DogLovesBest. He likes writing about pet health care tips and reviews the products that are useful for fidos on a daily basis.
Ellis also guardians a Siberian husky, Nova, and a cat named Shilly. They all live happily with his wife Ammy, and both the dogs on a seaside apartment in Queens, NY.
