Want to make a DIY dog bowl for your sweet pooch? Great!
I am here to give you an amazing DIY idea that you and your dog will love for sure. With this DIY guide, you will be able to make a dog bowl that will never tip over.
Say goodbye to mess and hello to clean home!
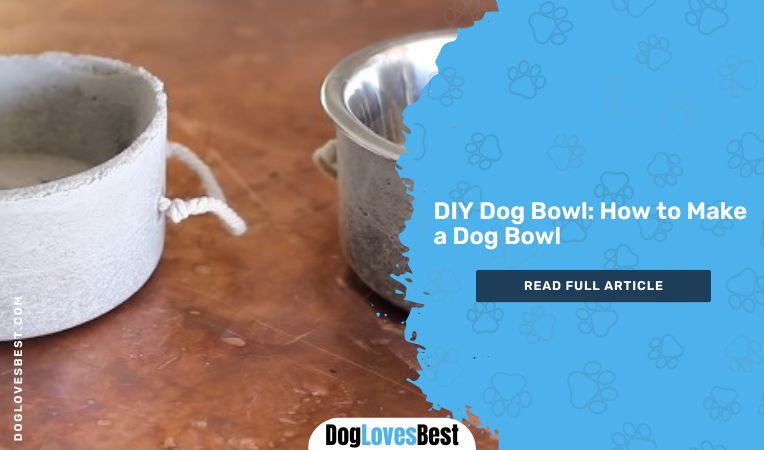
This DIY dog bowl is very durable and long-lasting as it is made from concrete. So, you won’t have to spend a lot of your money on purchasing a dog bowl regularly.
Let’s start with the DIY guide!
How to Make a DIY Dog Bowl
This 7-step guide will focus on every minute thing that you will need to keep in mind while making the DIY dog bowl.
After all, I know that your time is precious, and it should not be wasted.
Let’s start the guide, shall we?
Step 1: Materials You Will Need to Make DIY Dog Bowl
You will not need a lot of expensive materials to make this DIY dog bowl. Most of the materials will already be available to you. Check out the list below to find out the materials required to make this dog bowl.
- A Plastic Container
- Thick Rope for Handles
- Concrete Cement
- Dog Bowl (The one that you are currently using)
- Marking Tape
- Scissor and/or Knife
The size of the plastic container depends upon the size of your dog and the size of the dog bowl that you will use to make this DIY dog bowl. Choose a plastic container that is 1 or 2 inches bigger than your dog bowl.
If you do not find a plastic container of your required size, you may buy a storage plastic container. In this next step, I will show you how you can modify the storage container to use it for making a DIY dog bowl.
Step 2: Getting the Plastic Container Ready
If you are lucky enough, you will not have to do this step.
But if not, and you do not find the plastic container of your required size, then you will have to do this step.
Don’t worry. It is not very difficult and won’t even take much of your time. So, let’s begin.
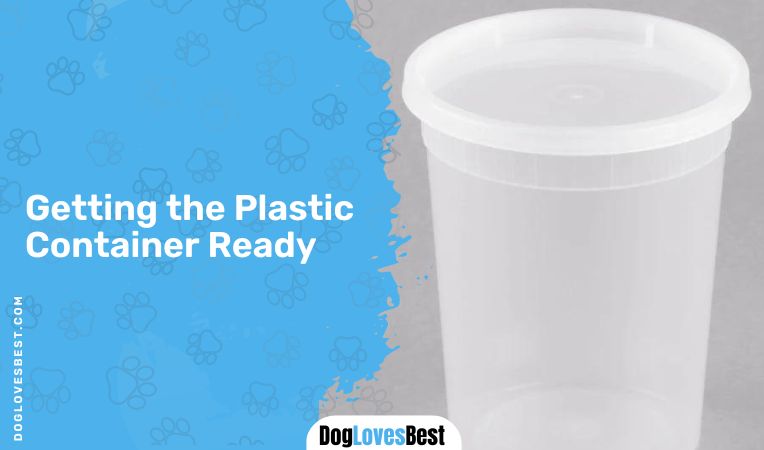
Take the plastic container, measure the length that you want to keep for the dog bowl using a measuring tape (3-5 inches would be sufficient) and mark the length on the container.
Now you will have to cut off the excess of the plastic container. You need to be sure that you cut the plastic container equally on all sides. So, use a marking tape, stick it around the container on all sides, and then use scissors to cut off the excess plastic.
Step 3: Making the Handles
The next step is to drill 2 holes on two opposite sides of the plastic container to make the dog bowl’s handles. These handles will make it easy for you to carry the DIY dog bowl around.
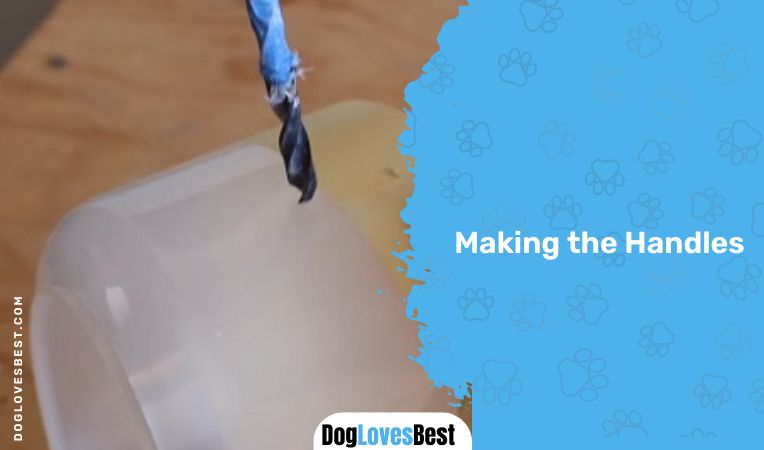
You can use a drill machine to drill the holes in the container. Drill two holes at a distance of about 1 inch. Drill 2 more similar holes on the opposite side of the container as well.
Now, using a thick rope to make the handles of the container. Cut 2 pieces of rope about 6 to 7 inches long. You can increase or decrease the length of the rope as per your requirement.
Pass the rope through the hole and tie one knot inside the container and one outside the container. Now, pass the other end of the rope through the second hole and tie two knots in the same way again.
Repeat the same process on the opposite side of the container as well.
Step 4: Making the Dog Bowl
Before making the bowl, check the size of the plastic container. Try and see if the standard bowl that you are using can easily fit in the container or not. Once the base is ready, pour the concrete cement into the plastic container and press the standard bowl in it.
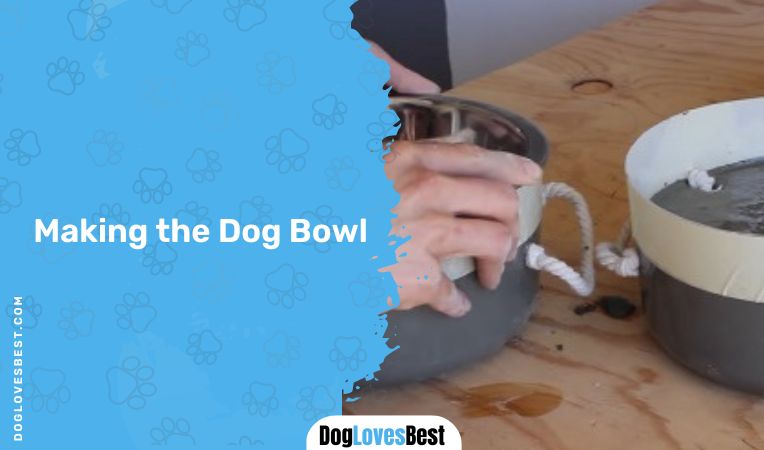
Some cement will overflow from the container when you push the bowl inside. Do not bother about it. Now, tape the bowl with the plastic container so that the it does not come out from the cement.
Step 5: Letting it Dry
Let the cement dry for at least 3 whole days. The mold needs to be perfectly dry before you move ahead in the process.
If you think the cement is still not dry even after 3 days, you may wait for one additional day. The durability of the bowl totally depends on how well the concrete has dried.
So, just relax and read a novel for the next few days till your concrete is drying up!
Step 6: Removing the Plastic Container
Once the concrete is all dry, you need to remove the plastic container. It is no more of your use.
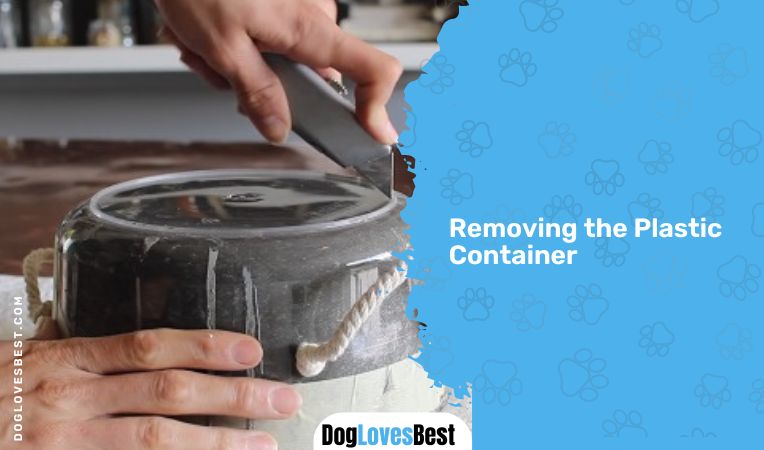
But because we have handles on the plastic container, you won’t be able to pop the container out. You will have to break it.
Note: Do not buy an expensive plastic container. It is actually not going to be a part of your dog bowl.
Using a knife, you can demolish the plastic container. Make sure you wear safety goggles because the container pieces are surely going to bounce a lot.
Once you have removed the plastic container, pop the dog bowl that you used as a mold from the top off, and that’s it! Your brand-new DIY Dog bowl is ready!
Step 7: Finishing Touches to the DIY Dog Bowl
Lastly, using a chisel, just smoothen the edges of the dog bowl. It will not take more than 30 minutes.
Tada!
The DIY process is over. Your non-breakable and untippable DIY dog bowl is all set for use.
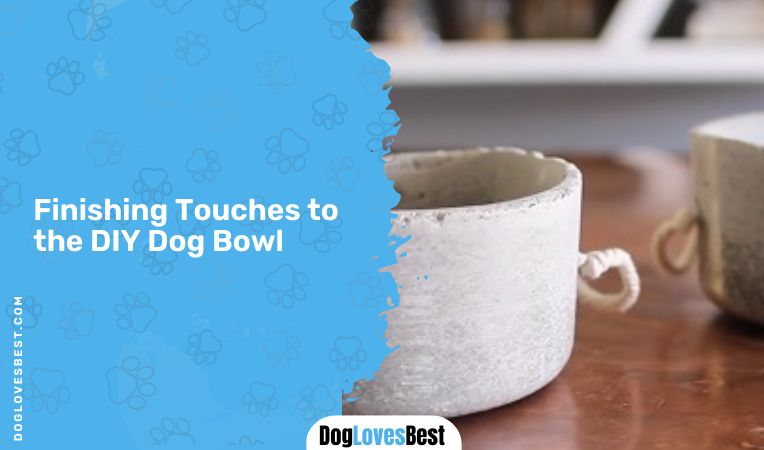
The best part about this DIY dog bowl is that you can use the bowl directly, or if you wish, you can even use it as a dog bowl holder.
It’s all your wish!
FAQs
No one will deny that the best material for dog bowls is stainless steel.
There are so many benefits of using a stainless steel dog water bowl. They are a lot durable as well as long-lasting. Even if you drop the bowl by mistake, it won’t break or get cracked. You can even carry it along anywhere with you because it is lightweight. Pet parents find cleaning a stainless steel bowl the easiest of all the dog water bowls.
Absolutely!
Raised dog bowls are very convenient for older dogs or have any kind of joint or bone issues. Raised level puts very little strain on your pooch’s neck.
However, you need to be very careful when you look for an elevated surface. If the level is too high, then it will not be comfortable for your dog. Also, if your pooch is a big one or a giant breed, raise dog bowls won’t be of much help. It is because there is a risk of bloating in large dogs when they drink or eat from an elevated bowl or dish.
A big Yes!
Metal bowls are not only the easiest to clean and maintain, but they are also the safest dog water bowl. It is because this material won’t leach likely hazardous chemicals into your pooch’s water as well as food. Aluminum, old ceramic bowls, plastics, and other materials are not very safe for your dog’s health.
Thus, you should always look for a metal or stainless steel dog water bowl.
There is no one reason why dogs hate stainless steel bowls.
Some dogs hate stainless steel bowl because they make a lot of noise, or possibly because a stainless steel bowl moves a lot. In contrast, other dogs might not like these bowls because they are irritated by the reflection they see in the bowl.
However, if you do not clean your dog bowl properly or there is soap residue in it. In that case, also, your dog won’t like using that bowl.
Plastic bowls should not be your very first choice as a dog water bowl.
Because plastic bowls can easily be chewed, we are all aware that chewing is a dog’s first love. Also, some pooches are allergic to plastic, which can lead to a mild reaction on their fur or skin.
Bacteria can easily build up on plastic bowls if your dog keeps on playing with them. So, it can pose a risk to your dog’s health.
Wrap Up
This is a perfect dog bowl for dogs who drink less from their dog bowl and play more with it. This DIY dog bowl won’t tip, and no longer will you have to clean your dog’s mess.
The DIY process is so easy; you can even gift this DIY dog bowl to any of your friends who also has pets.
I hope you loved this DIY dog bowl guide. Do not forget to share images of the dog bowl that you make after reading this guide.
Share your feedback in the comment section below! Awaiting!
‘Happy DIYing’…….
References:
- DIY Dog Bowl | Easy + Untippable! (2019, May 23). YouTube. Retrieved August 25, 2022, from https://www.youtube.com/watch?v=OrsIdam7Qo8
- Colgate. (2019, August 12). DIY Collapsible Dog Bowl for Pets on the Go. Hill’s Pet Nutrition. Retrieved August 25, 2022, from https://www.hillspet.com/dog-care/resources/diy-collapsible-dog-bowl
- Author, G. (2022, January 11). The Importance of Water for Cats and Dogs. Petfeed – Pet Care Tips, How-to Guides, Funny Stories, Comics, and Videos. Retrieved August 25, 2022, from https://petcube.com/blog/the-importance-of-water-for-our-pets/

Ellis is a retired veterinary technician and full-time contributor at DogLovesBest. He likes writing about pet health care tips and reviews the products that are useful for fidos on a daily basis.
Ellis also guardians a Siberian husky, Nova, and a cat named Shilly. They all live happily with his wife Ammy, and both the dogs on a seaside apartment in Queens, NY.

Followed these 7 simple steps and the dog was made successful.